
admin
06 Jul 2026
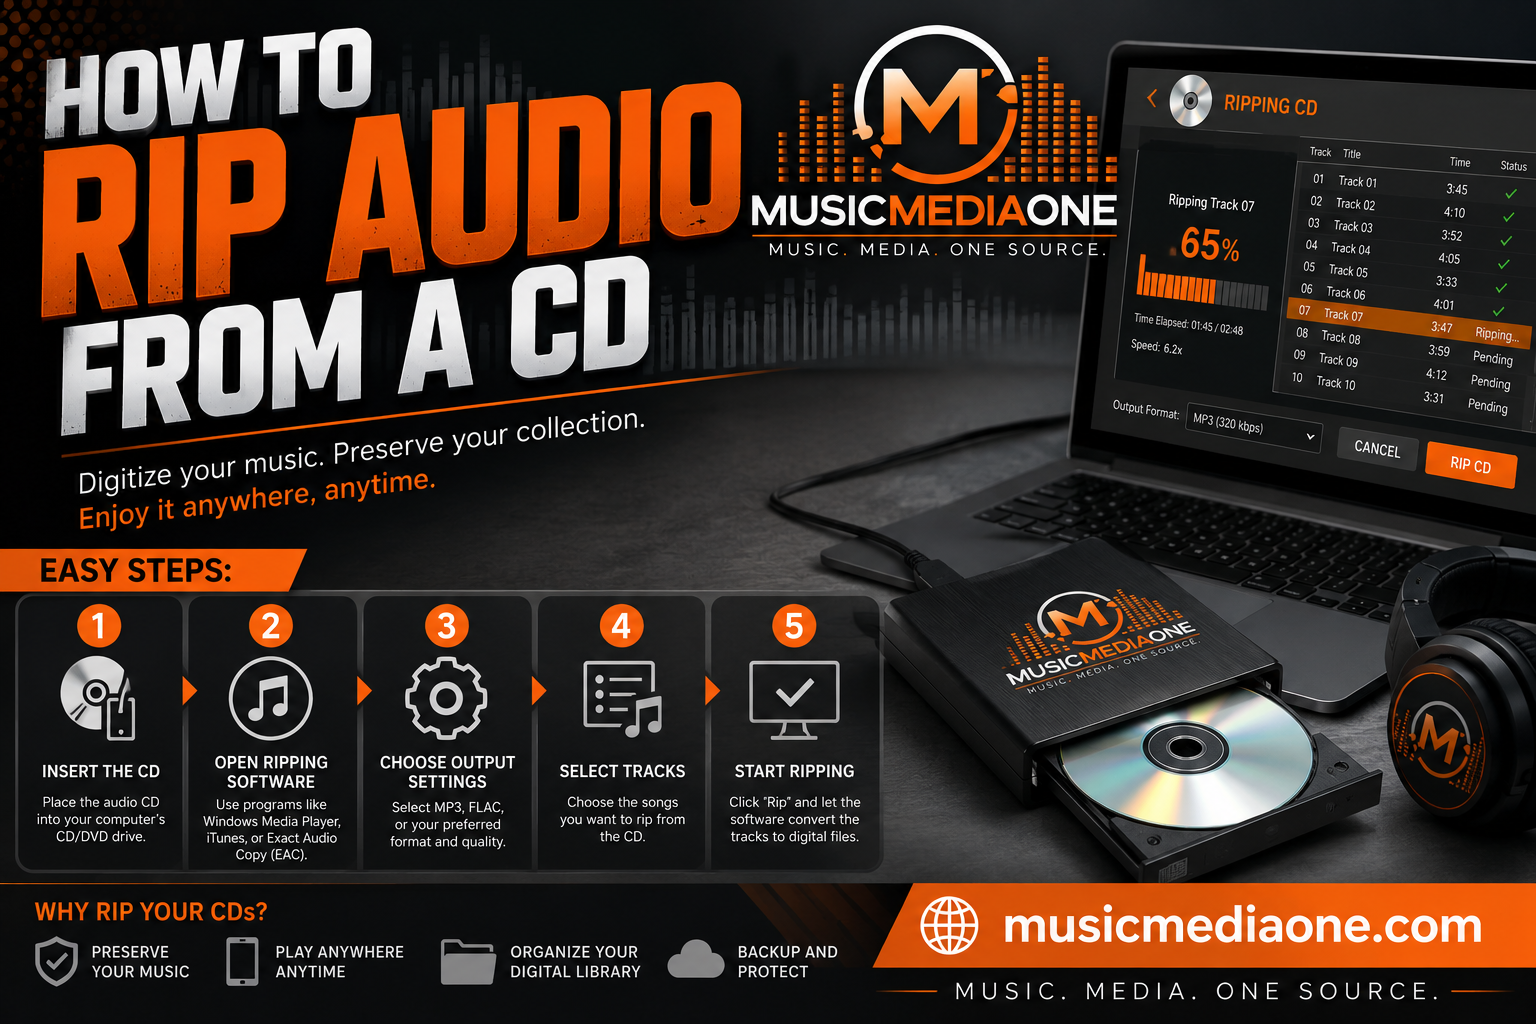
How to Rip Audio From A CD

You’ve probably got a stack of CDs somewhere that still matters. Album masters burned after a late-night session. Old mixtapes that never made it to streaming. Church sermon archives. Promo singles. Live recordings. The music is digital already, but the format is trapped on plastic, and every year it gets a little less convenient to access.
Learning how to rip audio from CD often involves opening the first app found and clicking a button. That works, sort of. It also creates a lot of avoidable mess: bad track titles, missing album art, inconsistent file names, and no real confidence that the rip is clean. If the disc is scratched or rare, “good enough” can turn into “I need to do this all over again.”
Why Ripping Your CDs the Right Way Matters
A casual rip is fine when the CD is easy to replace and you only need songs on your phone. It’s not fine when you’re digitizing original mixes, production music libraries, DJ tools, spoken-word archives, or any disc collection you’ve spent years building. The difference isn’t just sound quality. It’s trust, organization, and whether the files will still make sense months from now.
Popular consumer tools make ripping feel simple, but that convenience has limits. As Popular Science’s guide to ripping CDs points out, the gap between consumer convenience and archival quality is significant. Basic tools can extract audio, but they often don’t address inconsistent album art, track names, or rip quality. That’s the exact problem musicians and archivists run into after a long ripping session: the files exist, but the library is sloppy and the quality is uncertain.
What goes wrong with quick rips
The usual failures aren’t dramatic. They’re annoying.
- Tags don’t match reality. A guest artist gets dropped. Track titles come in all caps. Disc numbers vanish.
- Formats get chosen for convenience, not purpose. You end up with MP3s when you needed archival files.
- Folder structures fall apart. Files land in random default music folders with inconsistent naming.
- Error handling is weak. A scratched disc may rip, but you won’t know if the software glossed over read problems without notification.
Practical rule: If the disc matters, don’t judge a ripping workflow by whether it finishes. Judge it by whether the files are accurate, tagged correctly, and easy to find later.
Good enough versus archival grade
There’s nothing wrong with a fast rip for throwaway listening copies. If you’re loading some reference tracks onto an old car stereo, speed may matter more than perfection. But if the CD is part of your catalog, your collection, or your history, rip it once properly and keep that version as your master.
That usually means choosing a lossless format, checking metadata before the rip starts, and using software that can detect or at least reduce read errors. Those few extra minutes save hours of cleanup later.
Choosing Your Audio Format and Quality Settings
Format choice is where a lot of ripping projects go sideways. People think they’re making a sound-quality decision. They’re really making a workflow decision. The right format depends on whether the file is your master copy, a portable listening copy, or something you’ll hand off to another person.
A solid archival workflow is to rip to a lossless format first, then make smaller listening copies afterward if needed. Teufel’s guide to ripping music from CDs recommends ripping to a lossless format like FLAC first because it preserves the original CD audio data and lets you create smaller MP3 or AAC copies later without quality degradation.
Audio Format Comparison Quality vs. File Size
| Format | Type | Best For | Typical File Size (3 min song) |
|---|---|---|---|
| FLAC | Lossless | Archiving, long-term library storage, cross-platform use | Larger |
| ALAC | Lossless | Archiving in Apple-heavy workflows | Larger |
| WAV | Lossless, uncompressed | Editing, studio interchange, simple compatibility | Largest |
| MP3 | Lossy | Demos, older devices, casual portable playback | Smaller |
| AAC | Lossy | Apple ecosystem, modern portable listening | Smaller |
Lossless formats for master copies
If you care about preserving what’s on the CD, use FLAC or ALAC.
FLAC is often the practical default. It’s lossless, well supported, and better suited to long-term storage than WAV because it usually handles metadata more gracefully in normal music library software. If you’re on Windows or you move files between different systems, FLAC is usually the cleanest choice.
ALAC makes sense if your listening world is built around Apple software and devices. It gives you the same basic lossless goal, but in a format Apple users often prefer.
WAV has one major advantage: almost everything can read it. Its downside is library management. For a musician with a small set of discs headed straight into a DAW, WAV can be fine. For a big library with cover art, album names, and searchability, FLAC or ALAC is usually easier to live with.
Keep your first rip as the master. Any smaller listening copy should come from that master, not from reripping the CD later.
Lossy formats for convenience
MP3 still matters because old hardware still matters. Cars, legacy DJ gear, cheap media players, and some client playback systems are more comfortable with MP3 than anything else. If your job is “send me something I can play anywhere,” MP3 is still the safe handoff format.
AAC is also a strong portable format, especially in Apple-centered workflows. For many people, it’s the everyday listening format that sits alongside a lossless archive.
The mistake is using either one as your only copy. Once you rip to a lossy format, you’ve made a permanent compromise. You can make a smaller file from a bigger one later. You can’t rebuild discarded audio data after the fact.
A simple decision framework
Use this when you’re deciding how to rip audio from CD:
- Archiving a personal or professional collection. Rip to FLAC or ALAC.
- Feeding a DAW or editor quickly. WAV can work, especially for short-term production use.
- Sending demos or loading playback devices. Make MP3 or AAC copies from your lossless files.
- Unsure what you’ll need later. Choose lossless now. Storage is easier to solve than regret.
For musicians, the right answer is usually boring and effective: lossless master first, portable copies second.
Picking the Right CD Ripping Software
The software choice decides whether you end up with a quick listening copy or a rip you can trust years from now. For a clean, common CD, almost any app can produce playable files. For scratched discs, rare releases, DJ promos, or anything you do not want to rerip, the differences between programs start to matter.

Built-in tools for quick jobs
Built-in apps are fine for convenience. They are easy to open, require very little setup, and usually pull album and track information automatically if the computer is online.
That workflow works best when the goal is simple listening copies and the disc is in good shape.
Use a basic built-in ripper if:
- The CD is clean and easy to read
- You only need a fast personal copy
- You do not need detailed error reporting
- You are willing to check track names, album artist, and genre tags yourself
The trade-off is control. These apps usually give you fewer options for secure rereads, offset correction, rip logs, and verification. If metadata comes in wrong, or the disc has a damaged section, you often find out after the files are already in your library.
Specialist rippers for accurate extraction
For Windows, Exact Audio Copy (EAC) remains a standard choice. For macOS, XLD is the closest match in everyday use. dBpoweramp is also widely respected on both platforms if you want a paid tool with a cleaner setup experience.
What separates these programs from basic media apps is not just file export. It is how they read the disc. Secure ripping software slows down when it hits trouble, rereads suspicious sections, and gives you a better record of what happened. That matters if you are archiving out-of-print albums, reference discs, or original masters burned to CD-R years ago.
In practice, the split is pretty simple:
- Built-in software for casual, low-risk ripping
- EAC or XLD for collections you care about keeping accurately
- dBpoweramp for people who want stronger ripping features without spending much time configuring them
I usually steer musicians toward EAC, XLD, or dBpoweramp if they have more than a handful of discs. The first hour of setup saves many hours of cleanup later.
Advanced tools for technical workflows
Some archivists and Linux users work with command-line tools such as cdparanoia, cdda2wav, or cdrdao. Those tools are useful if you want low-level control, logs, or custom workflows around difficult discs.
Most musicians do not need to start there.
The useful lesson is broader than the software itself. A good ripper does more than create files. It helps catch read errors, deal with damaged discs, and leave a paper trail when accuracy matters.
The real question is not whether the program finished. The real question is whether the audio was extracted cleanly and tagged correctly.
Which one to choose
Choose based on the value of the disc and the amount of cleanup you can tolerate.
If you are ripping a few albums for casual playback, the software already on your computer is usually good enough. If you are building a searchable archive, feeding a DJ library, or preserving discs you may never replace, use EAC, XLD, or dBpoweramp and keep the process controlled from the start.
Large projects change the math. Ripping hundreds of CDs is less about clicking buttons and more about metadata consistency, file naming, duplicate handling, and quality control. That is where a service can be practical rather than extravagant. Atlanta Disc’s CD ripping service includes track tagging and file organization, which can save a lot of time when the primary problem is scale, not know-how.
Your Step-by-Step Ripping Workflow
A reliable rip starts before you press the button. The software settings matter, but the prep work matters just as much. If you name files badly, accept wrong metadata, or dump everything into one generic music folder, the rip is technically done and practically unfinished.

Set up the software before the first disc
Choose your output format first. For most serious projects, that means FLAC or ALAC. Then set the destination folder and naming pattern before you feed the drive a stack of discs.
A clean file path saves a lot of pain later. A dependable structure looks like this:
- Artist folder. Keep each main artist in a single top-level folder.
- Album folder. Use a consistent album title. Add disc numbers when needed.
- Track naming. Start with track number, then title.
A simple naming pattern is:
Artist / Album / 01 - Track Title
That structure works whether you browse by folders, import into DJ software, or move the files to a NAS.
Check metadata before the rip
This is the part casual guides tend to rush. Don’t.
For a reliable workflow, Play It Again Paul’s CD ripping advice recommends using a secure ripper such as Exact Audio Copy or XLD, enabling error correction or secure mode, and verifying that the software has fetched the correct metadata from the internet before starting the rip.
That “before starting” part is the key. Fixing metadata after the fact is possible, but it’s much slower when you’ve already ripped dozens of discs.
Check these fields:
- Artist name. Make sure featured artists, ensembles, or church names aren’t truncated.
- Album title. Watch for special editions, live dates, or volume numbers.
- Track titles. Confirm spellings and sequence.
- Album art. Nice to have, but consistency matters more than perfection.
- Compilation handling. Multi-artist discs need clear album-artist logic or they’ll scatter across your library.
Metadata habit: If something looks wrong before the rip, assume it will still be wrong after the rip.
If the software doesn’t find metadata at all, enter it carefully. That’s slower, but still better than living with “Track 01,” “Track 02,” and mystery folders forever.
Run the rip and watch what the software tells you
Once the settings and tags are right, start the rip. On clean discs, you’ll usually be done without drama. On damaged or cheaply manufactured discs, the software may slow down, reread sectors, or flag possible errors. That’s normal behavior in a secure mode workflow.
This video shows the basic process in action:
As the rip runs, pay attention to more than progress bars. Look for messages about rereads, suspicious positions, timing issues, or failed metadata lookups. Those are signs the disc may need another pass or manual cleanup.
Batch work without creating chaos
If you’re processing a box of CDs, don’t make the common mistake of doing all the ripping first and all the tagging later. That creates a backlog of unidentified cleanup.
Instead, use a repeatable rhythm:
- Insert disc and confirm the software sees it correctly
- Review metadata
- Rip
- Check output folder
- Move to the next disc only when the current one is clean
For larger libraries, separate the work physically. Keep one stack for untouched discs, one for successful rips, and one for problem discs that need another drive or another attempt.
What usually works and what doesn’t
What works is boring discipline. Consistent format, consistent folder naming, and a quick metadata check every time.
What doesn’t work is speed-running the project with default settings and assuming the machine will sort it out. It won’t. The computer can rip the audio, but it can’t know whether “Final Mix 2” should really be “Final Mix 2 revised” unless you tell it.
Verifying Rip Accuracy and Advanced Tips
A rip is only as good as its log. If you are transferring a live album, a label reference disc, or an out-of-print release, the question is not whether the files were created. The question is whether they match what was on the disc, with no hidden read errors and no guesswork buried in the process.

That is why verification matters. Good ripping software does more than copy tracks. It rereads trouble spots, checks whether the results stay consistent, and, when supported, compares your rip against known-good results from other users. For casual listening, a basic rip may sound fine. For masters, archives, DJ libraries, or anything you may need to trust later, verified extraction is the safer standard.
What secure ripping is actually checking
Secure ripping is built around suspicion. The drive reads the disc, the software watches for inconsistencies, and problem sections get extra attention instead of being passed through as if nothing happened.
That matters most in three situations. Scratched discs. Pressings with manufacturing defects. Older discs that still play, but no longer read cleanly in every drive.
Tools such as EAC, XLD, and cdparanoia are useful here because they expose that process instead of hiding it behind a single progress bar. You can see rereads, timing issues, sync problems, and whether a track was verified cleanly or only recovered as well as possible.
How to judge a rip without overcomplicating it
You do not need lab equipment. You need to know what counts as a pass, what counts as a warning, and what deserves another attempt.
A clean result usually looks like this:
- No read errors reported
- Tracks marked as accurately verified or confidently ripped
- A consistent checksum or matching result across repeated reads
- A log with no suspicious positions, sync errors, or timing complaints
A questionable result usually looks different:
- The same section triggers rereads every time
- The software reports suspicious positions or cannot verify a track
- Two attempts produce different outcomes
- The rip finishes, but the log shows unresolved errors
If a disc matters, save the log file with the album folder. Six months later, that log tells you whether the files are trusted masters, acceptable working copies, or candidates for another pass.
Advanced habits that save time later
Verification is only part of quality control. The other part is keeping the archive usable.
Check the first and last track manually on difficult discs. Those edge tracks often show problems first. Confirm pre-gap handling if your software exposes it, especially for live albums, DJ mixes, and records where track transitions matter. Review metadata before you file the album away, because a perfect FLAC rip with broken artist, album, or track fields becomes a mess in a library fast.
For musicians and DJs, my practical rule is simple. Keep a lossless, verified master copy if the disc has long-term value. Then make MP3 or AAC copies for phone listening, car use, email, or rough demo sharing. That split keeps the archive clean and avoids reripping later.
Troubleshooting discs that refuse to cooperate
Start with the physical disc. Clean it carefully with a soft cloth, wiping from the center outward. Then try a different drive if the first one struggles. Optical drives vary more than people expect, and one drive may read a problem disc cleanly while another keeps stalling on the same track.
Use secure mode and be patient. On a damaged disc, a slower verified rip is better than a fast file that only looks finished. If the software offers test-and-copy style checks, use them on the trouble tracks instead of reripping the entire album blindly.
There is also a point where “good enough” and “archive grade” part ways. If a damaged promo CD is only needed for reference listening, an unverified track with a noted flaw may be acceptable. If it is the only copy of a master, interview recording, or rare release, document every issue and consider handing the job to a service with multiple drives and a tighter quality-control workflow.
An imperfect rip can still be useful. An undocumented imperfect rip is what causes problems later.
When to Use a Professional CD Ripping Service
DIY ripping makes sense when the collection is small and your time is flexible. It gets less appealing when the project turns into a production line. A few discs is a task. A few shelves of discs is operations.

When outsourcing is the practical choice
Some jobs are better outsourced because the primary constraint isn’t knowledge. It’s labor.
That’s usually true in a few situations:
- Large-volume collections. Labels, churches, and DJs often have more discs than they have free evenings.
- Rare or fragile media. If the disc has sentimental, historical, or commercial value, you may not want to experiment with consumer hardware.
- Metadata consistency matters. Bulk projects fall apart fast when naming conventions drift from disc to disc.
- Your time belongs elsewhere. Musicians should spend time making music, not renaming track files for days.
What a service changes
A professional service doesn’t change the underlying principles. The same issues still matter: format choice, metadata quality, file organization, and whether the extraction can be trusted. What changes is who carries the workload.
That can be useful if you need organized deliverables rather than a software hobby. Services can also help when the project includes mixed content, such as sermon libraries, promo compilations, rehearsal discs, and older CD-Rs with inconsistent labeling.
The smartest time to outsource is before the project becomes a half-finished mess on three hard drives.
A realistic way to decide
Use DIY if you have a manageable number of discs, a decent drive, and enough patience to check every rip.
Use a service if the scope is large, the discs are important, or you know you won’t keep the process disciplined from start to finish. There’s no shame in that. The point is to end up with usable, organized files, not to prove you can babysit an optical drive.
Frequently Asked Questions About CD Ripping
Is it legal to rip my own CDs
That depends on where you live and what you plan to do with the files. Personal backups from discs you own are commonly treated differently from uploading, sharing, selling, or using ripped audio in a commercial workflow. If the files will leave your own library, get legal advice that fits your country and use case.
What if my CD is badly scratched
Start with the simple fix first. Clean the disc with a soft, lint-free cloth and wipe from the center outward, not in circles.
Then try a secure ripping program and, if possible, a different optical drive. Some drives track damaged discs better than others. If the ripper keeps reporting errors at the same timestamp, assume that part of the audio may be compromised and listen to that section before you file the rip away as finished.
What’s a good folder structure for a ripped library
Keep it boring and consistent. That is what holds up when you import the files into a DAW, a DJ library, a music server, or a backup archive months later.
A practical structure is:
- Artist
- Album (Year)
- Track Number. Track Title
For compilations, add a clear rule at the start. Either file everything under Various Artists or sort by album artist consistently. The problem is rarely the folder style itself. The problem is changing your naming rules halfway through a 200-disc project.
Why do some apps fill in track names automatically
Many ripping apps check online metadata databases when you insert a disc. If the disc matches an entry, the software can pull in album title, artist, track names, and sometimes genre and year.
That saves time, but it is not quality control. Metadata is often inconsistent on indie releases, CD-Rs, DJ promo discs, and older self-released albums. Always scan the tags before you commit to a full library import, especially if you care about sorting, search, or professional archive standards.
If you’d rather skip the drive setup, tag cleanup, and bulk file organization, Atlanta Disc offers CD-related production services for artists, DJs, churches, and indie labels, including CD ripping. For larger or higher-stakes collections, that can be a practical way to get organized digital files without turning the job into a weeks-long side project.